Deep FX app · images and video · free beta
Deep FX for images and video.
Effects read depth, edges, brightness and motion, and stack into combinations of your own. Explore with generators, or work a specific look down to a single setting. Out come stills, clips and final art, up to 4K.
How it works
Paste in. Roll a look. Copy out.
- Step 1
Bring an image or clip
Paste from Photoshop, Figma, Blender, Resolve, or drop in a video file.
- Step 2
Depth is read
Processor builds a depth map in the browser: one per image, and one depth track across a video’s frames. Nothing leaves your machine.
- Step 3
Stack or roll
Build a stack by hand, or hit Randomise and keep the variations you like.
- Step 4
Take it out
Paste a still straight into your work or export a clip. No watermark.
Ten effect families.
102 effects, each using the real technique it’s named after — actual JPEG compression maths, real error-diffusion dithering, a modelled CRT shadow mask.
Adjust
01The fundamentals, done properly. Exposure, levels, curves, sharpen, blur.
12 effects
- Brightness/ContrastThe classic combined tonal adjustment, with a movable pivot.
- ExposureBrighten or darken in real photographic stops.
- HSVRotate hue, push saturation, lift or drop value.
- GammaBend the midtones brighter or darker without touching the ends.
- SharpenCrisp up detail without amplifying flat-area noise.
- BlurA clean, true softening, smooth at any radius.
- SaturationAdd colour intensity, gently or hard.
- InvertFlip tones, all channels or one, at any strength.
- Auto ContrastOne-tap full-range normalisation.
- LevelsSet black point, white point and gamma by hand.
- CurvesThe flagship tonal control: drag the curve, remap the tone.
- Motion BlurA directional streak, as if the camera moved.
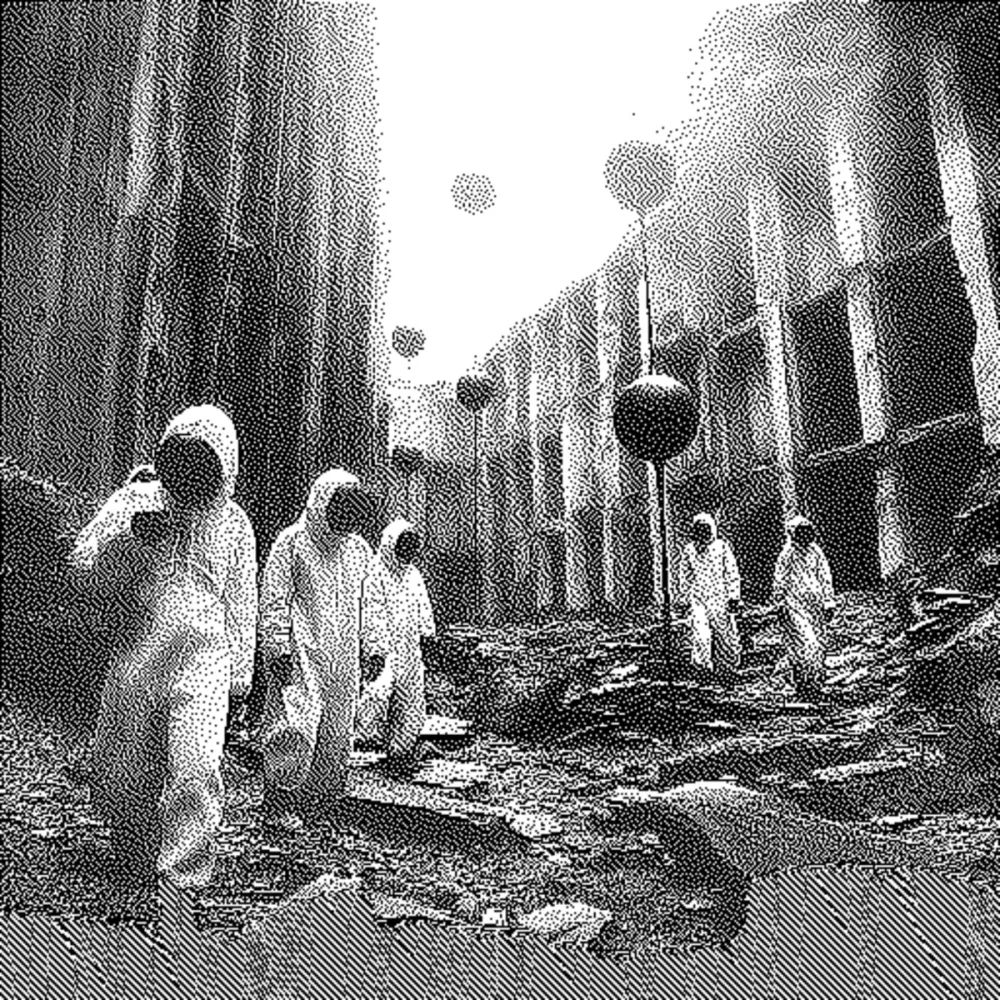
Degrade
02Dithers, halftones, CMYK screens — down to Game Boy and PICO-8 palettes.
Shown: Error Dither7 effects
- DitherOrdered dithering down to real console palettes.
- HalftoneThe single-screen print-dot look.
- PosterizeCrush the tonal range into flat steps.
- PixelateBlocky, low-res down-sampling.
- ThresholdHard two-tone cut to black and white.
- Error DitherOrganic, grain-like diffusion dithering.
- CMYK HalftoneTrue four-colour process halftone — print, not a print filter.
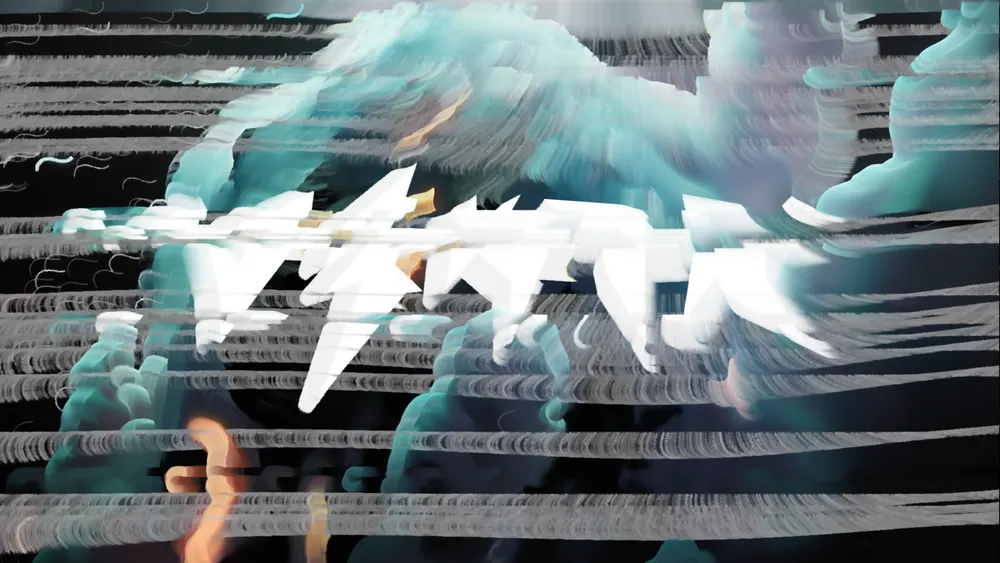
Distort
03Displace, kaleidoscope, reaction-diffusion, long exposure — from a push to living systems.
Shown: Long exposure21 effects
- CarriageDrag a hand scanner across the image.
- EdgesOutline the image for line-art and blueprint looks.
- ReactionGrow Turing patterns — spots, stripes, mazes — out of the image.
- DisplacePush pixels around with smooth noise.
- Freq ModHard line-screen and frequency-modulation patterning.
- KaleidoscopeMirror the frame into radial symmetry.
- Drift SmearColour smeared along invisible currents, like slow flow.
- Long ExposureLight-trails and motion accumulation on a still.
- MachineRe-draw the image as pen-plotter marks.
- SlicerThe image redrawn as 3D-print cross-sections.
- SolventA wet, melting, dissolving smear.
- Aniso KuwaharaPainterly flattening that follows the image's structure.
- Domain WarpIrreducible marbled, organic distortion.
- Organic GrowthDendritic coral / frost branching grown from the image.
- Edge FlowBrush, grain or light the picture along its own edges.
- Flow NetworkBranching paths that follow the picture, like lightning or a river system.
- LeniaA breathing, alive cellular membrane.
- PhysarumGrow a slime-mould network that feeds on the picture.
- LiquidSmear the image as dye through a flow field.
- ImageBring another image into the stack and place it.
- TransformMove, scale, rotate, or skew the whole frame — with Position X/Y and a projective corner-pin.
Patterns
04Seven generators that make the pattern out of the picture: camouflage stamps, lattices, Voronoi cells, quadtrees, flow strokes, contour lines and soft noise bands. Cell size and stamp scale follow depth, tone or detail, so the pattern crowds up where the image is busy and opens out where it isn't.
7 effects
- Noise FieldSoft organic noise bands that follow the picture.
- CamoCamo blobs and stamped shapes sized by the picture.
- LatticeA lattice of lines or marks that bends to the picture.
- CellsStained-glass cells grown around the picture.
- QuadtreeSubdivide the frame into squares where the picture is busy.
- Flow LinesStrokes that flow along the picture.
- Contour LinesContour lines traced through the tones of the picture.
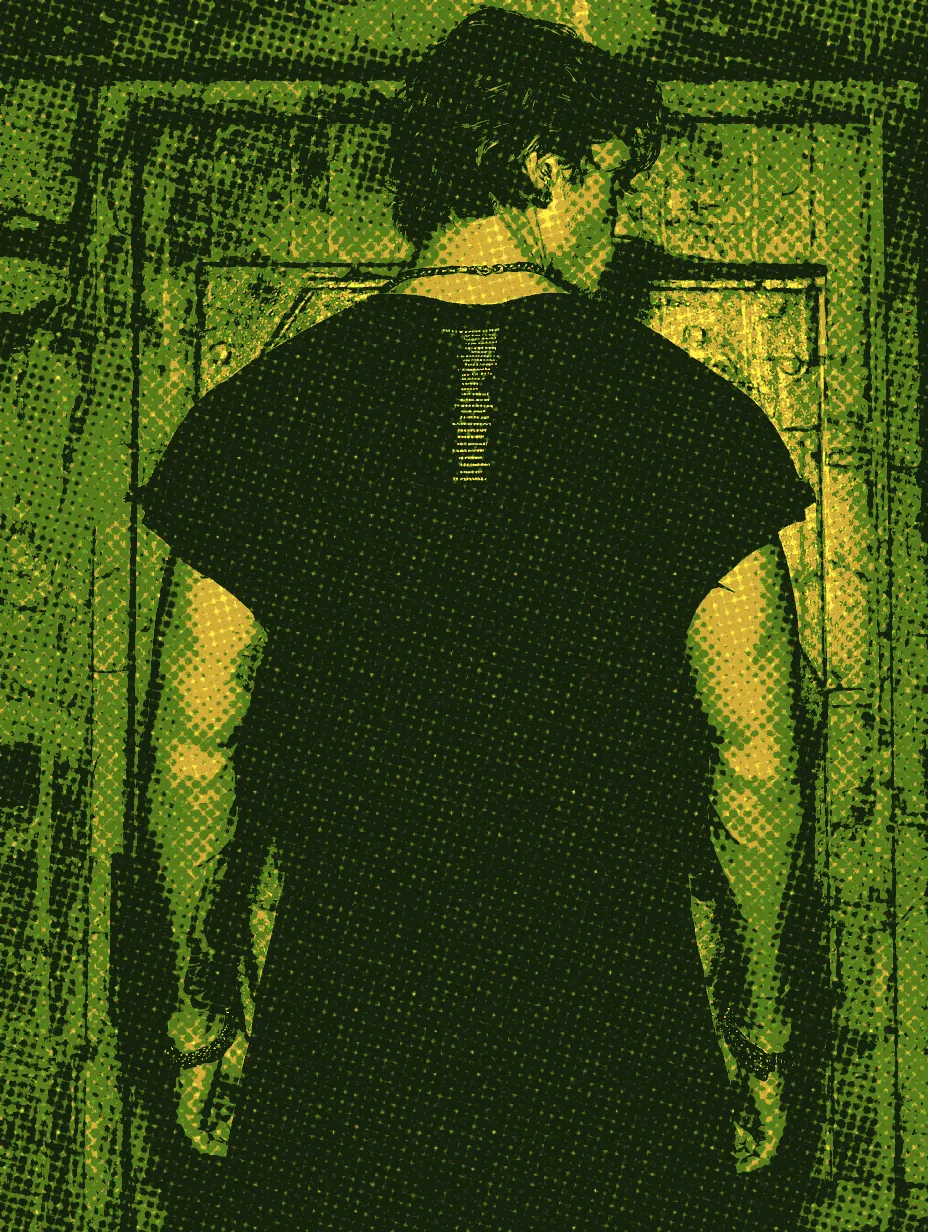
Colour
05Duotone, gradient maps, split-tone, film grades, risograph.
Shown: Risograph6 effects
- DuotoneMap the tonal range across two (or three) colours.
- Film GradeTwenty curated colour looks from one grade engine.
- Gradient MapRemap tone through a full gradient ramp.
- SolarizeThe darkroom tone-inversion effect.
- Split ToneTint shadows one way, highlights another, keep the luma.
- RisographLimited spot-ink riso print, mis-registration and all.
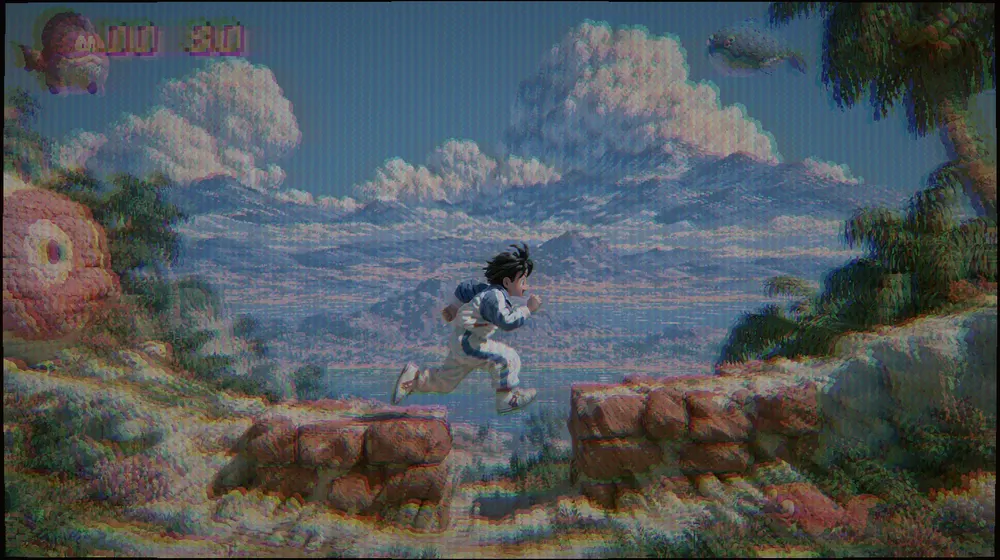
Signal
06VHS, NTSC, scanlines, and a CRT model down to the shadow mask.
Shown: CRT signal6 effects
- ScanlinesCRT scanline raster and vignette.
- AnalogVHS, NTSC and broadcast-format artifacts.
- DisplayA deep display engine: eight devices, modelled to the hardware.
- GrainReal film and sensor grain that responds to tone.
- HardwareReal hardware breaking — a magnet on the tube, a failing panel, a dying cable.
- Scan ProcessorA 1973 scan processor, driven by depth.
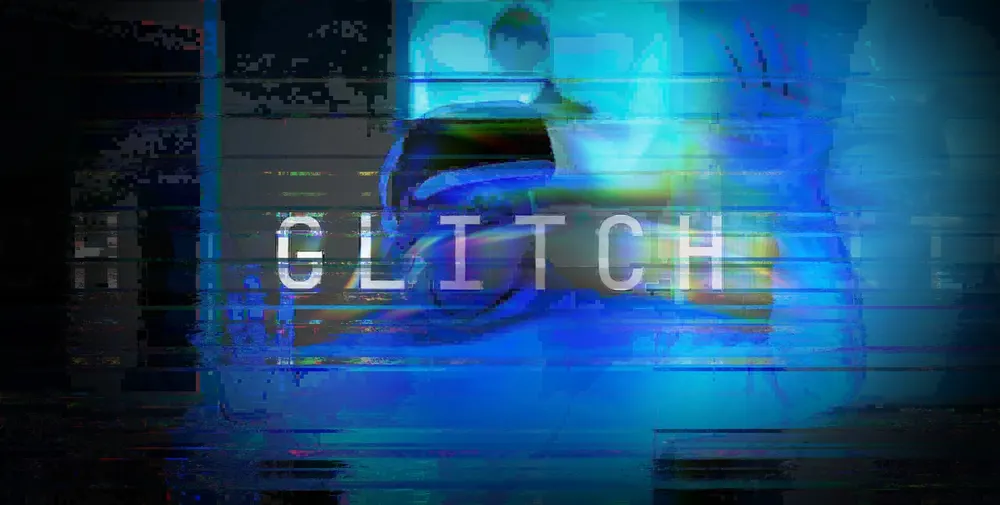
Glitch
07Databending, pixel sort, and real 8×8 DCT JPEG compression.
Shown: The Glitch family13 effects
- Chromatic Ab.A clean optical RGB fringe.
- Pixel SortSorted pixel streaks within tonal spans.
- Scan GlitchBroadcast-error band slipping and tearing.
- DatabendDatamosh-style buffer corruption.
- Displace TearHard structural slab and block tearing.
- Signal BreakA fully broken transmission.
- DatamoshVideo only: the clip's own motion drags the picture.
- MeltAn honest melt / smear on one still.
- CompressionReal JPEG compression pushed until it breaks — the look from the math.
- Image as AudioThe "ran it through Audacity" look.
- Depth ShatterBreak the image into depth-based shards.
- MoiréOverlapping-grid shimmer and interference.
- Pixel StretchStretch pixels into long streaks.
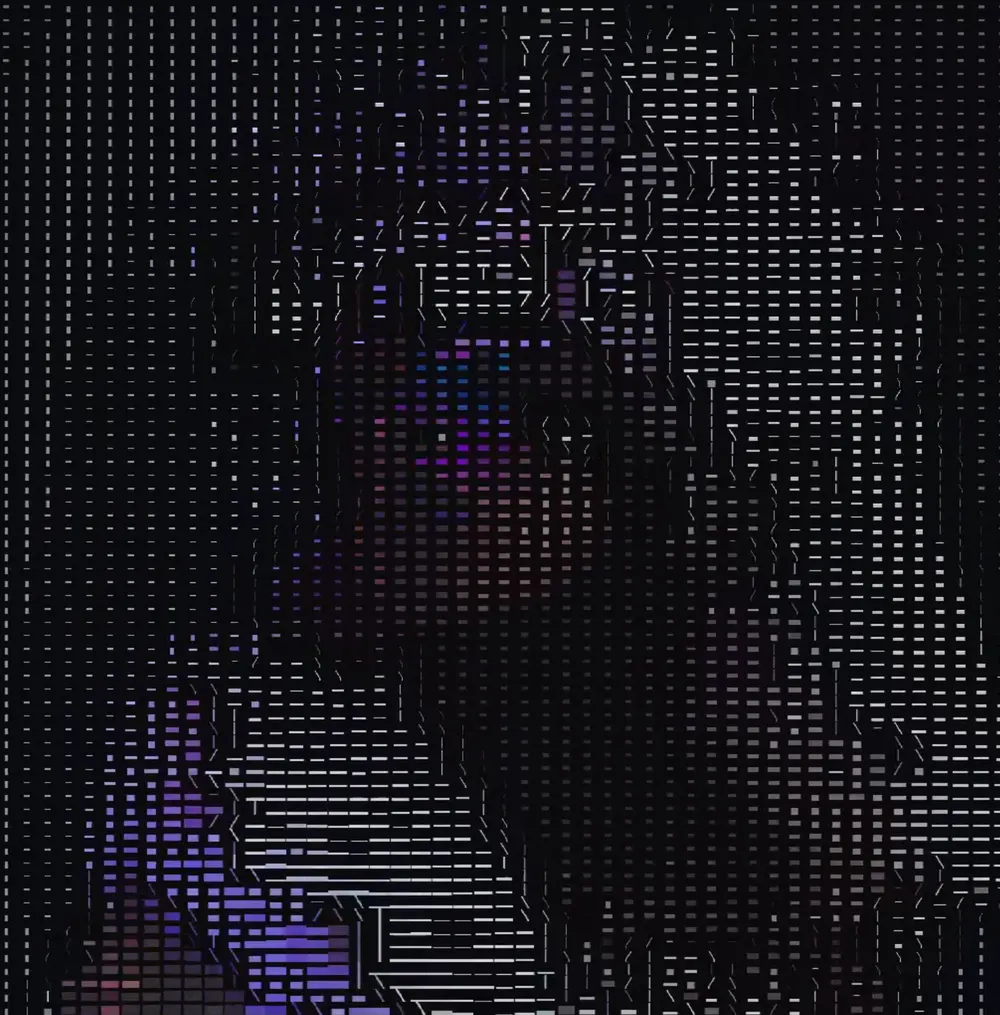
Type
08ASCII, block mosaic, box art, braille — the image as characters.
Shown: ASCII portrait5 effects
- Block MosaicThe image in Unicode block characters.
- ASCIIClassic text-art, your own charset or one of the built-in ramps.
- Box ArtSchematic / blueprint, drawn in box-drawing glyphs.
- Half-BlockTwo colours per cell — the BBS-era ANSI art trick.
- BrailleThe image as a field of raised braille dots.
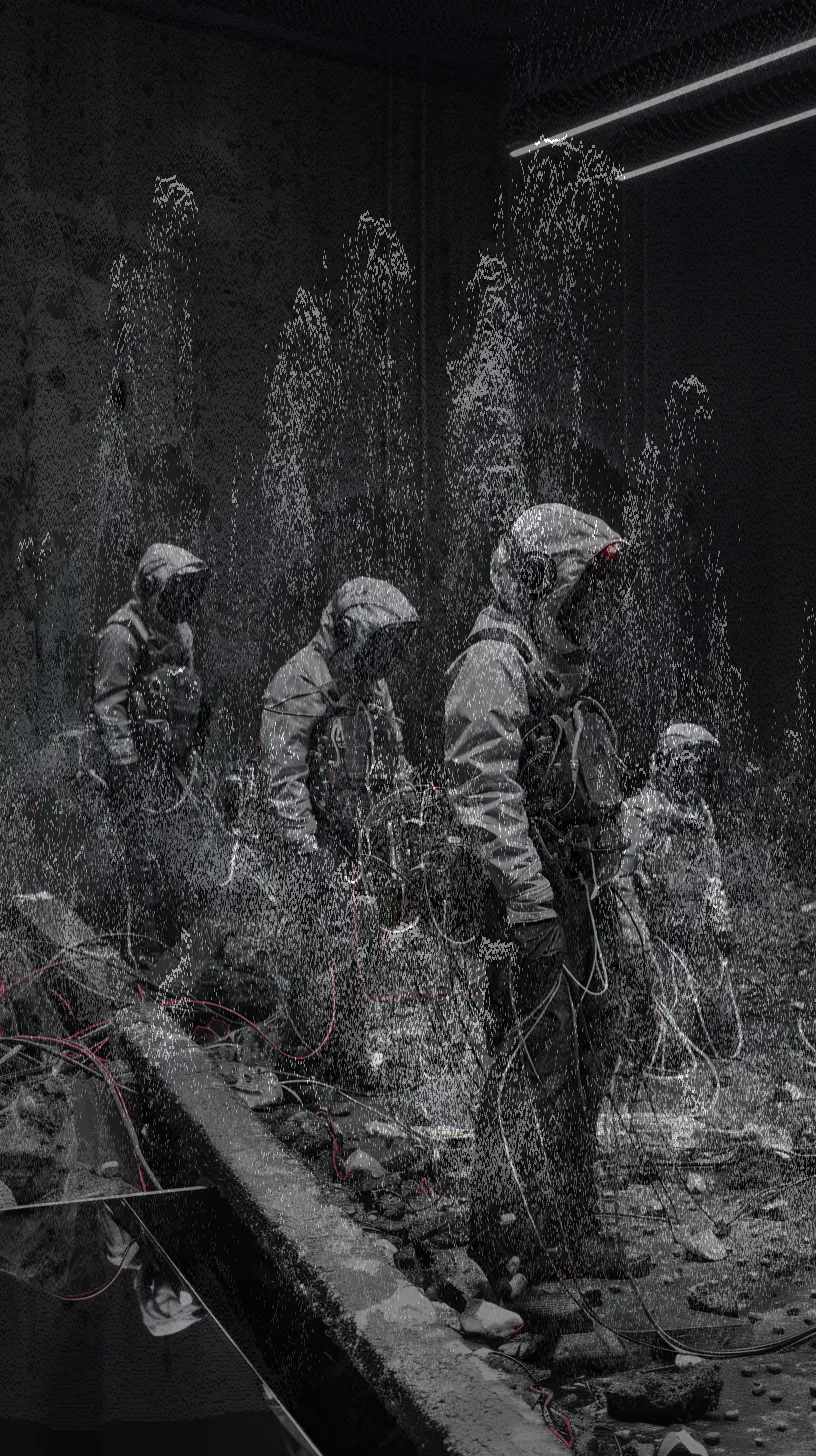
Light
09Bloom, anamorphic and star flares, glow, relighting.
Shown: Scan Processor10 effects
- BloomBright highlights spread and bleed.
- Anamorphic FlareA long horizontal cinematic lens streak.
- Star FlareCross / star rays from highlights.
- CausticsWater over the picture: the pool-floor web of bright refracted light.
- GlowA soft, ethereal halo.
- FreelensThe lens-whacking light-leak and tilted-focus look.
- RelightMove the light after the shot — real form, real texture.
- VignetteDarken (or colour) the frame edges.
- GlassWarp the image through textured glass.
- ReskinCoat the subject in chrome or liquid metal.
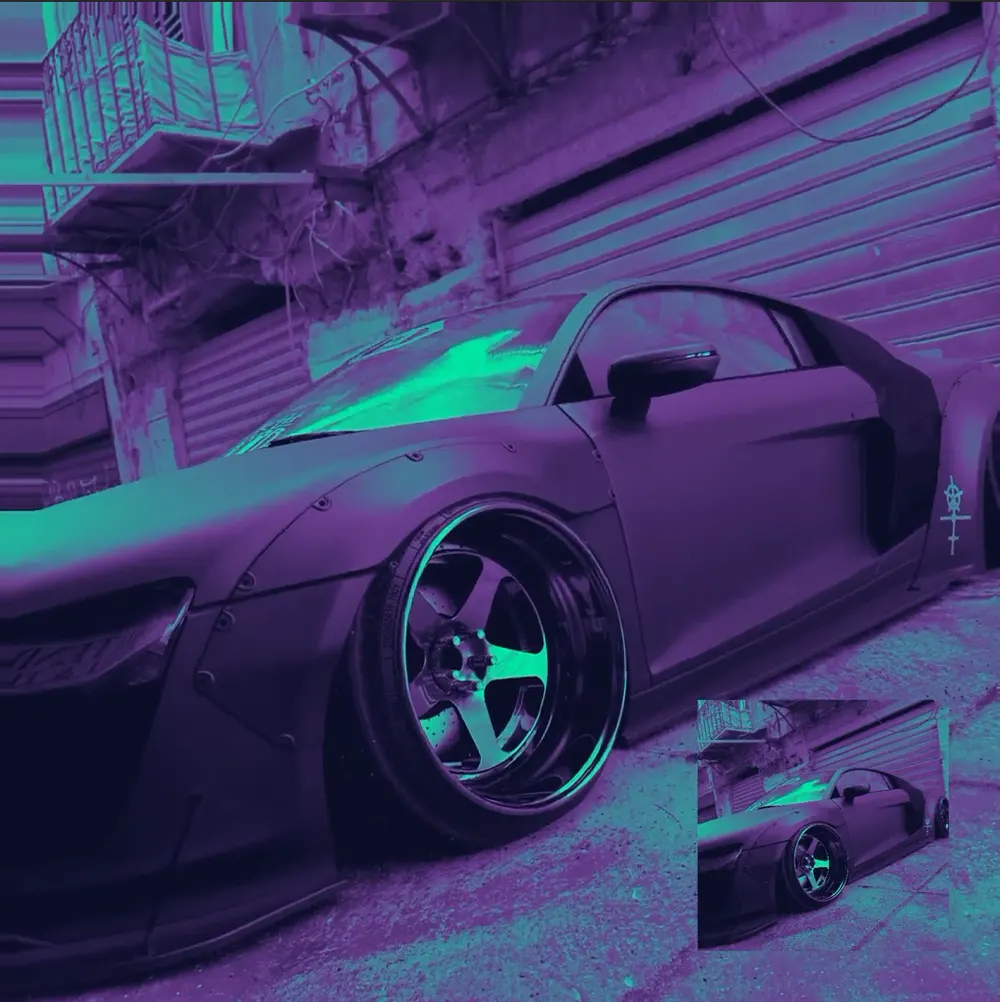
Depth ✦
10Parallax, depth of field, fog, point clouds — effects that work in the scene.
Shown: Depth Parallax15 effects
- Z-DepthSee the inferred depth itself, styled.
- Depth SliceA cutaway cross-section through the image.
- Depth ScanA luminous sci-fi scanner band at a depth plane.
- AtmosphericSunlit aerial haze and light through air.
- Depth GradeWarm the near, cool the far — grading by distance.
- Depth FogDistance-driven volumetric atmosphere.
- Depth DOFA real lens: focus that falls where the depth actually is.
- Heat HazeHeat shimmer that grows with distance, plus mirages.
- Depth AOSoft shadows in the depth crevices.
- Point CloudRebuild the image as floating 3D dots.
- MetaballMelt the image into fused, connected 3D blobs.
- Depth ZoomZoom and push into the image in 3D.
- Depth ParallaxShift the view in 3D — near things move more than far.
- Normal MapShow surface-facing directions as colour.
- WireframeMesh the image — the wires follow its edges.
Workflow
A walk round the app.
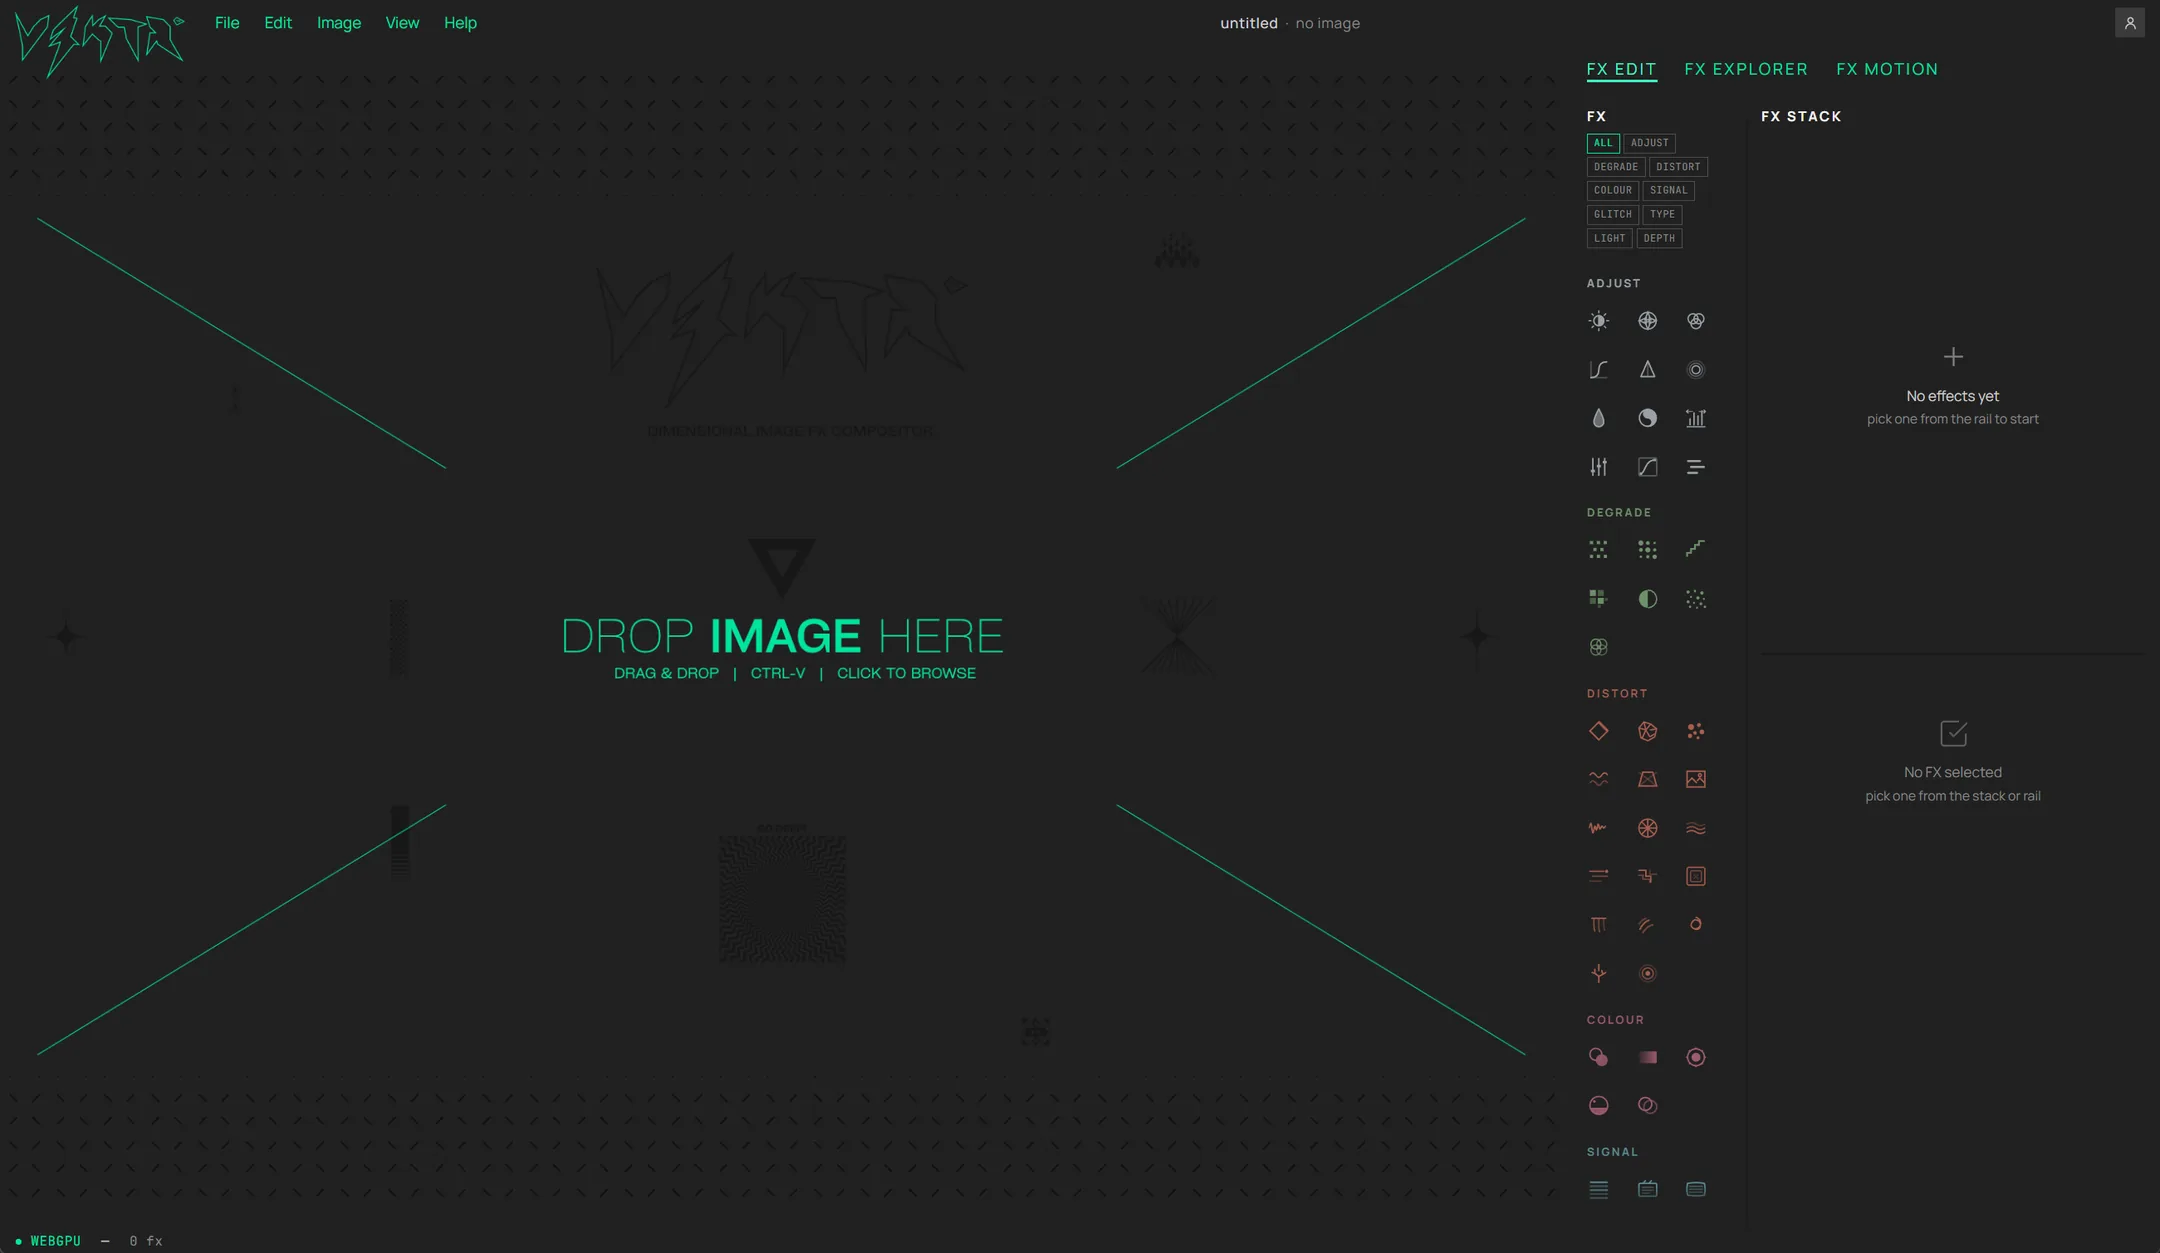 The empty canvas
Where you start: an empty canvas, the effect rail, and a stack that says No effects yet. Drop an image or a video on it, paste one, click to browse, or try the sample image — there is no project to create and nothing to set up first.
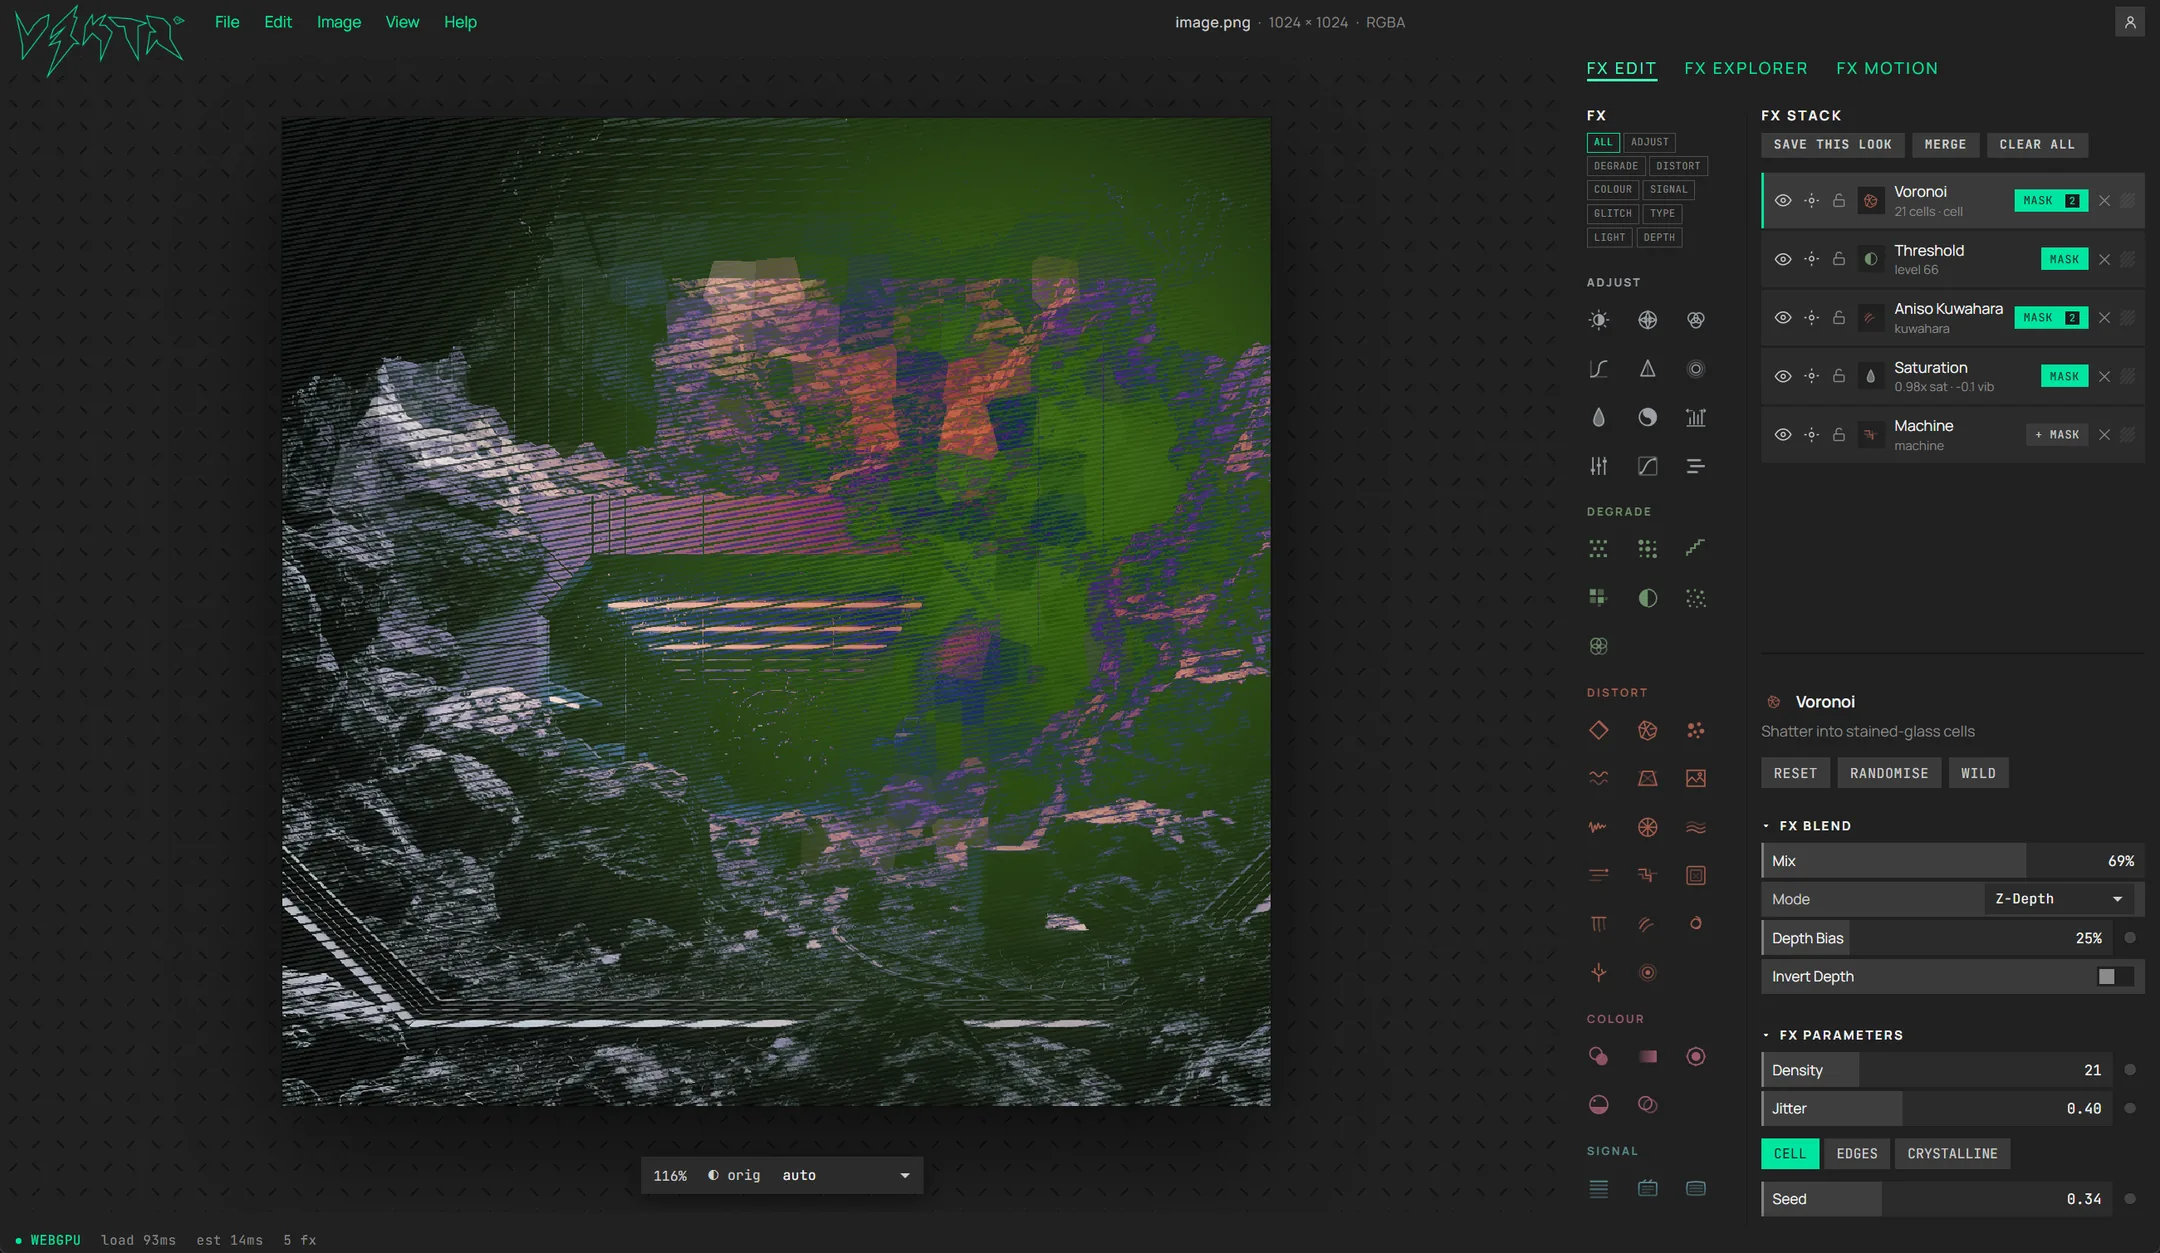 The same screen, working
The same screen with an image in and five effects stacked. The top bar carries the menus and the document; the canvas is the work area; the rail is the effect palette; the right column is the FX Stack above and the Parameters for whichever layer is selected below — here Pixel Sort, on a Z-Depth blend so it only reaches part of the scene by distance. Atmospheric at the bottom of the stack reads depth too: the city hazes back, the car stays sharp. Two rows carry a MASK chip, so you can see at a glance which effects are limited. The status bar reports the renderer, load time, how many effects are live and the image size.
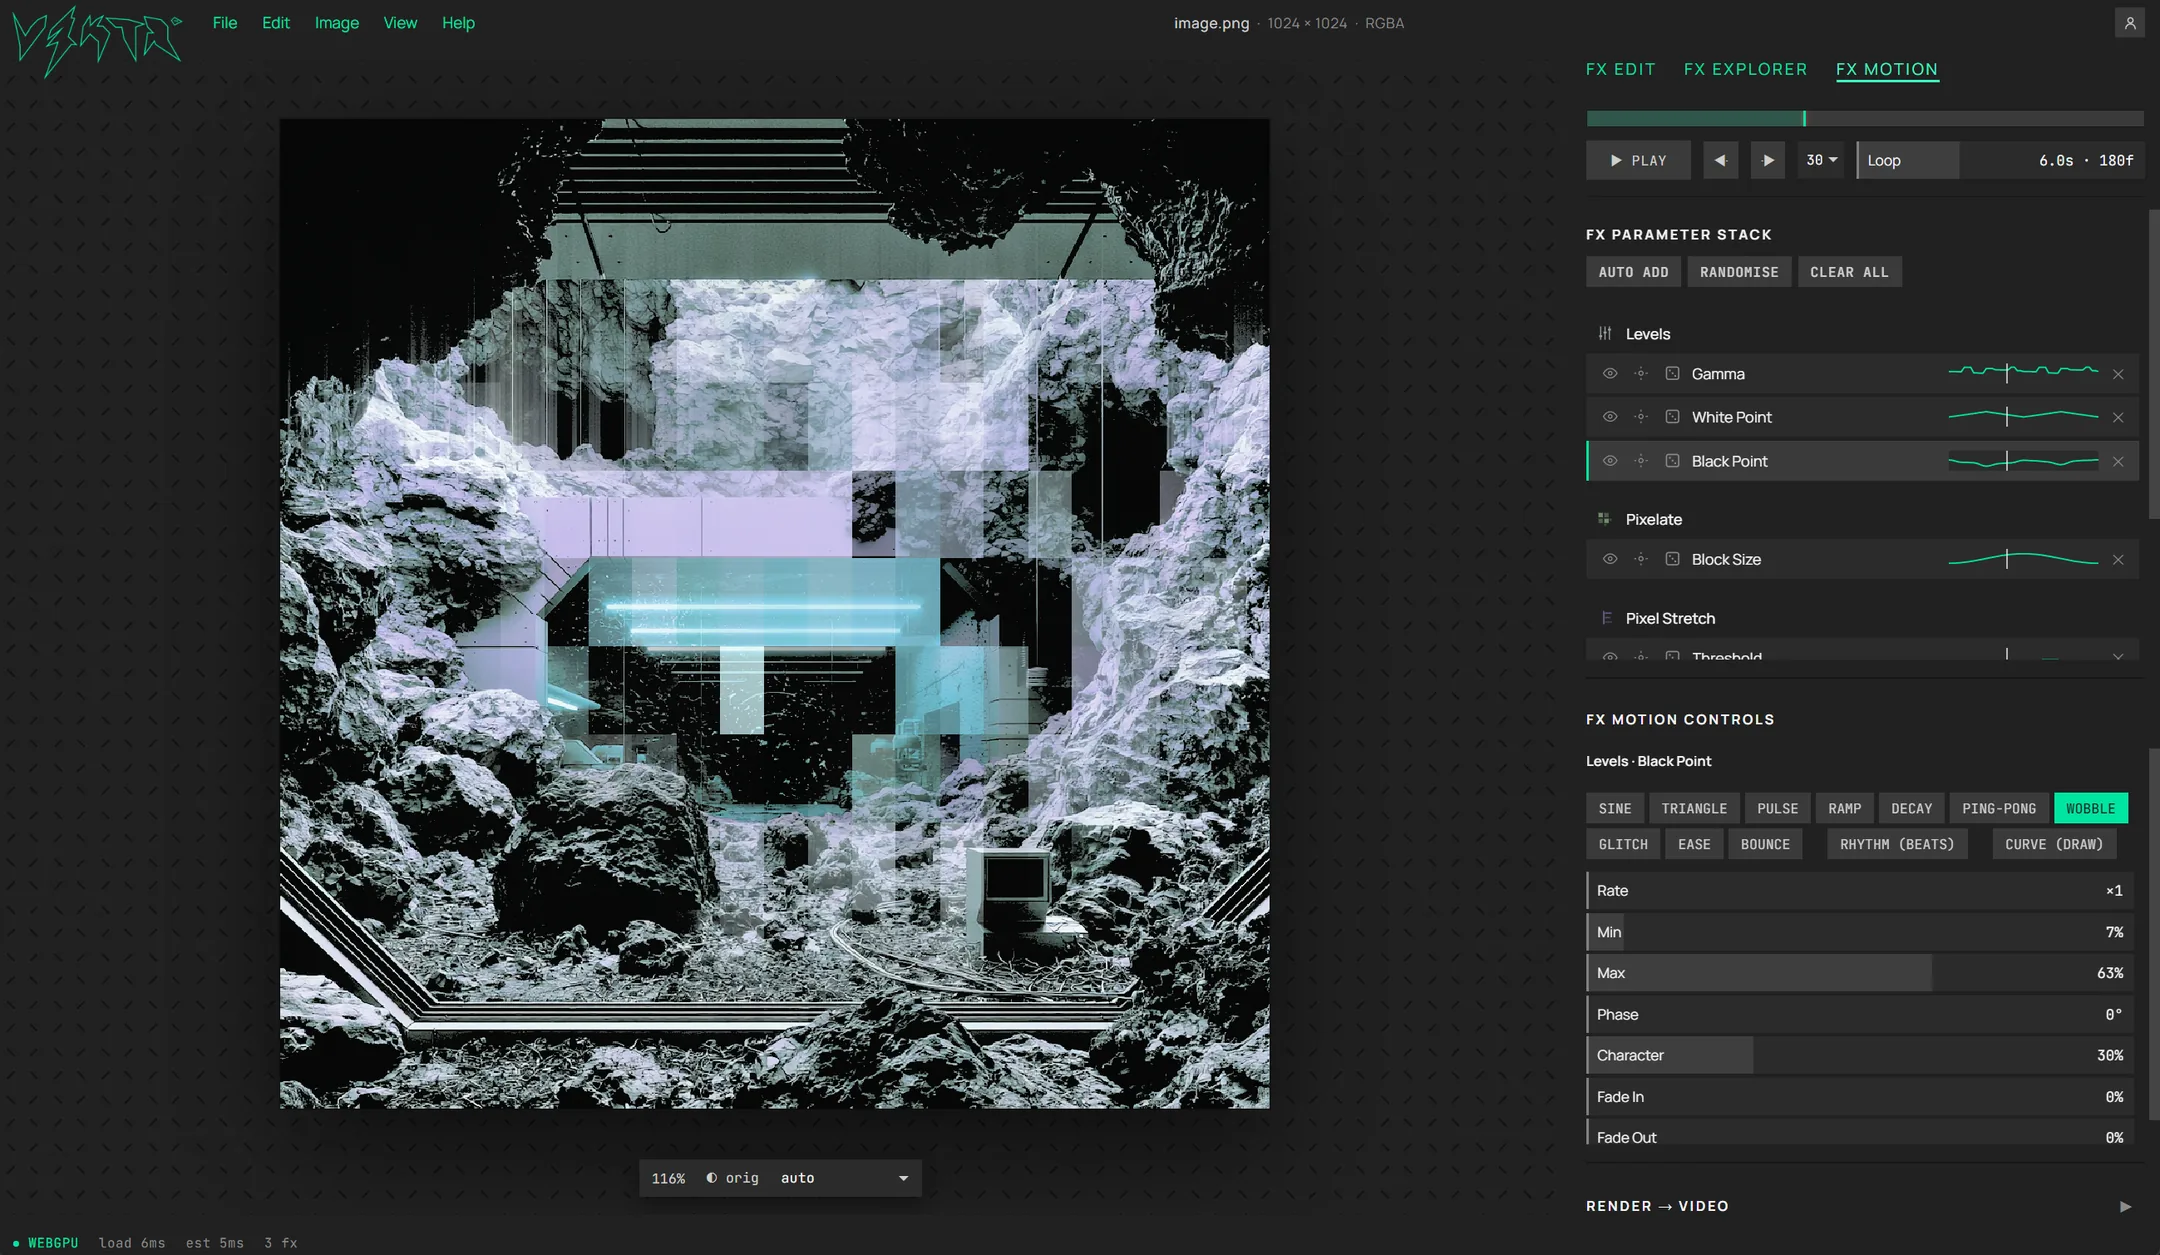 Motion, in one frame
FX Motion with three parameters armed across two effects. The transport loops and renders to video; the FX Parameter Stack lists every armed channel with its curve drawn beside it; the controls underneath belong to whichever channel is selected — here Scanlines · Depth, on a Wobble shape. Note what isn't here: no effect has its own animation. Anything moving is moving because Motion is driving one of its ordinary parameters.
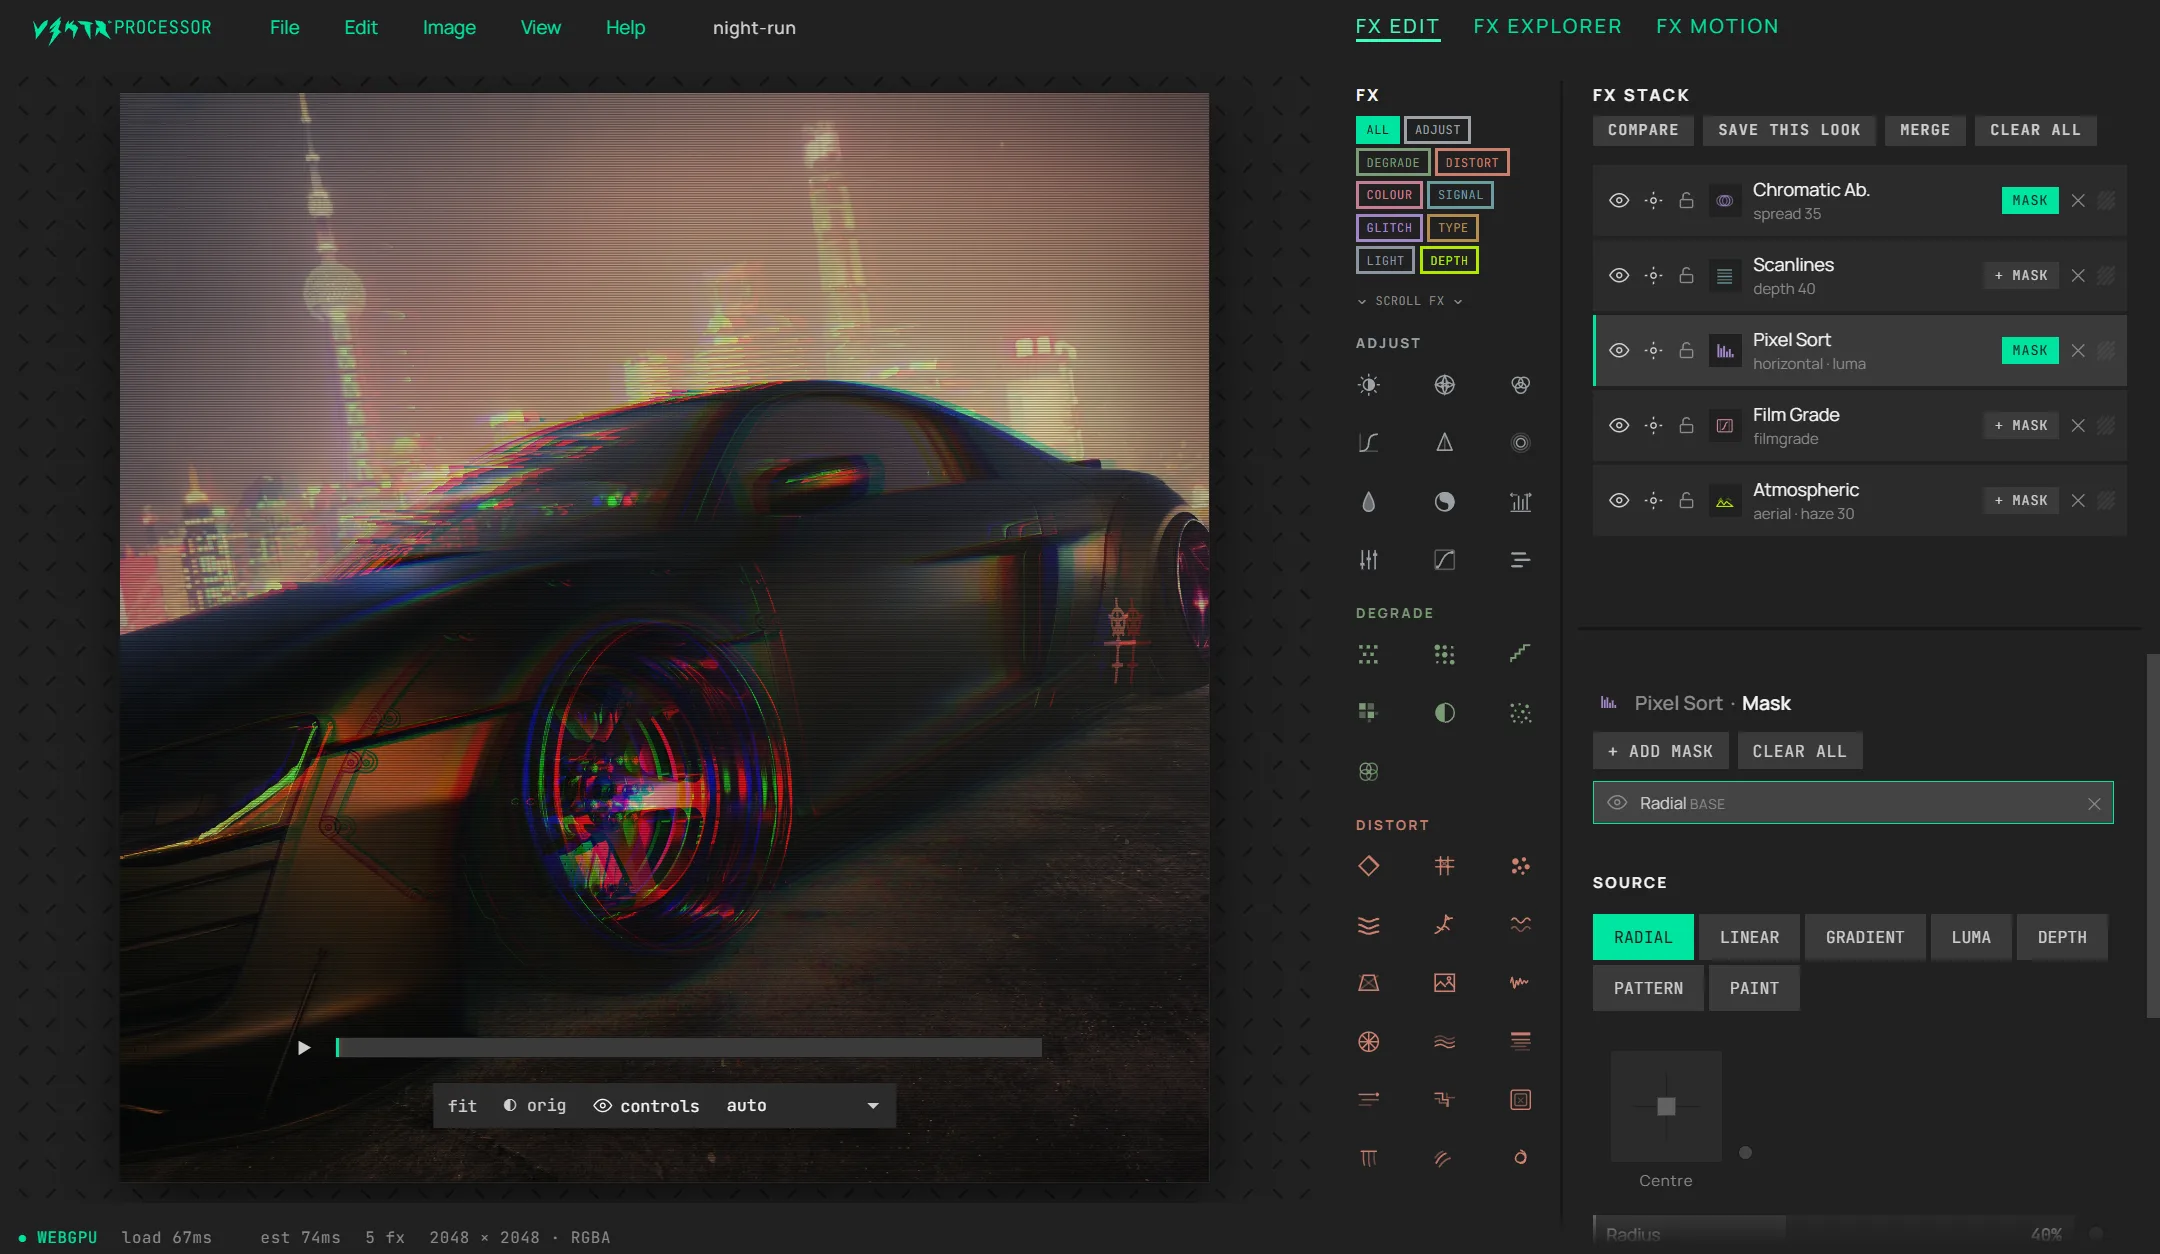 Masking a single effect
The mask panel open on the Pixel Sort layer, with a radial base mask. Masks belong to the layer, not to the image: the breadcrumb tells you whose mask you're editing, the source decides what shape it takes — radial, linear, gradient, luma, depth, pattern or paint — and a layer can carry more than one. The rest of the stack is untouched.
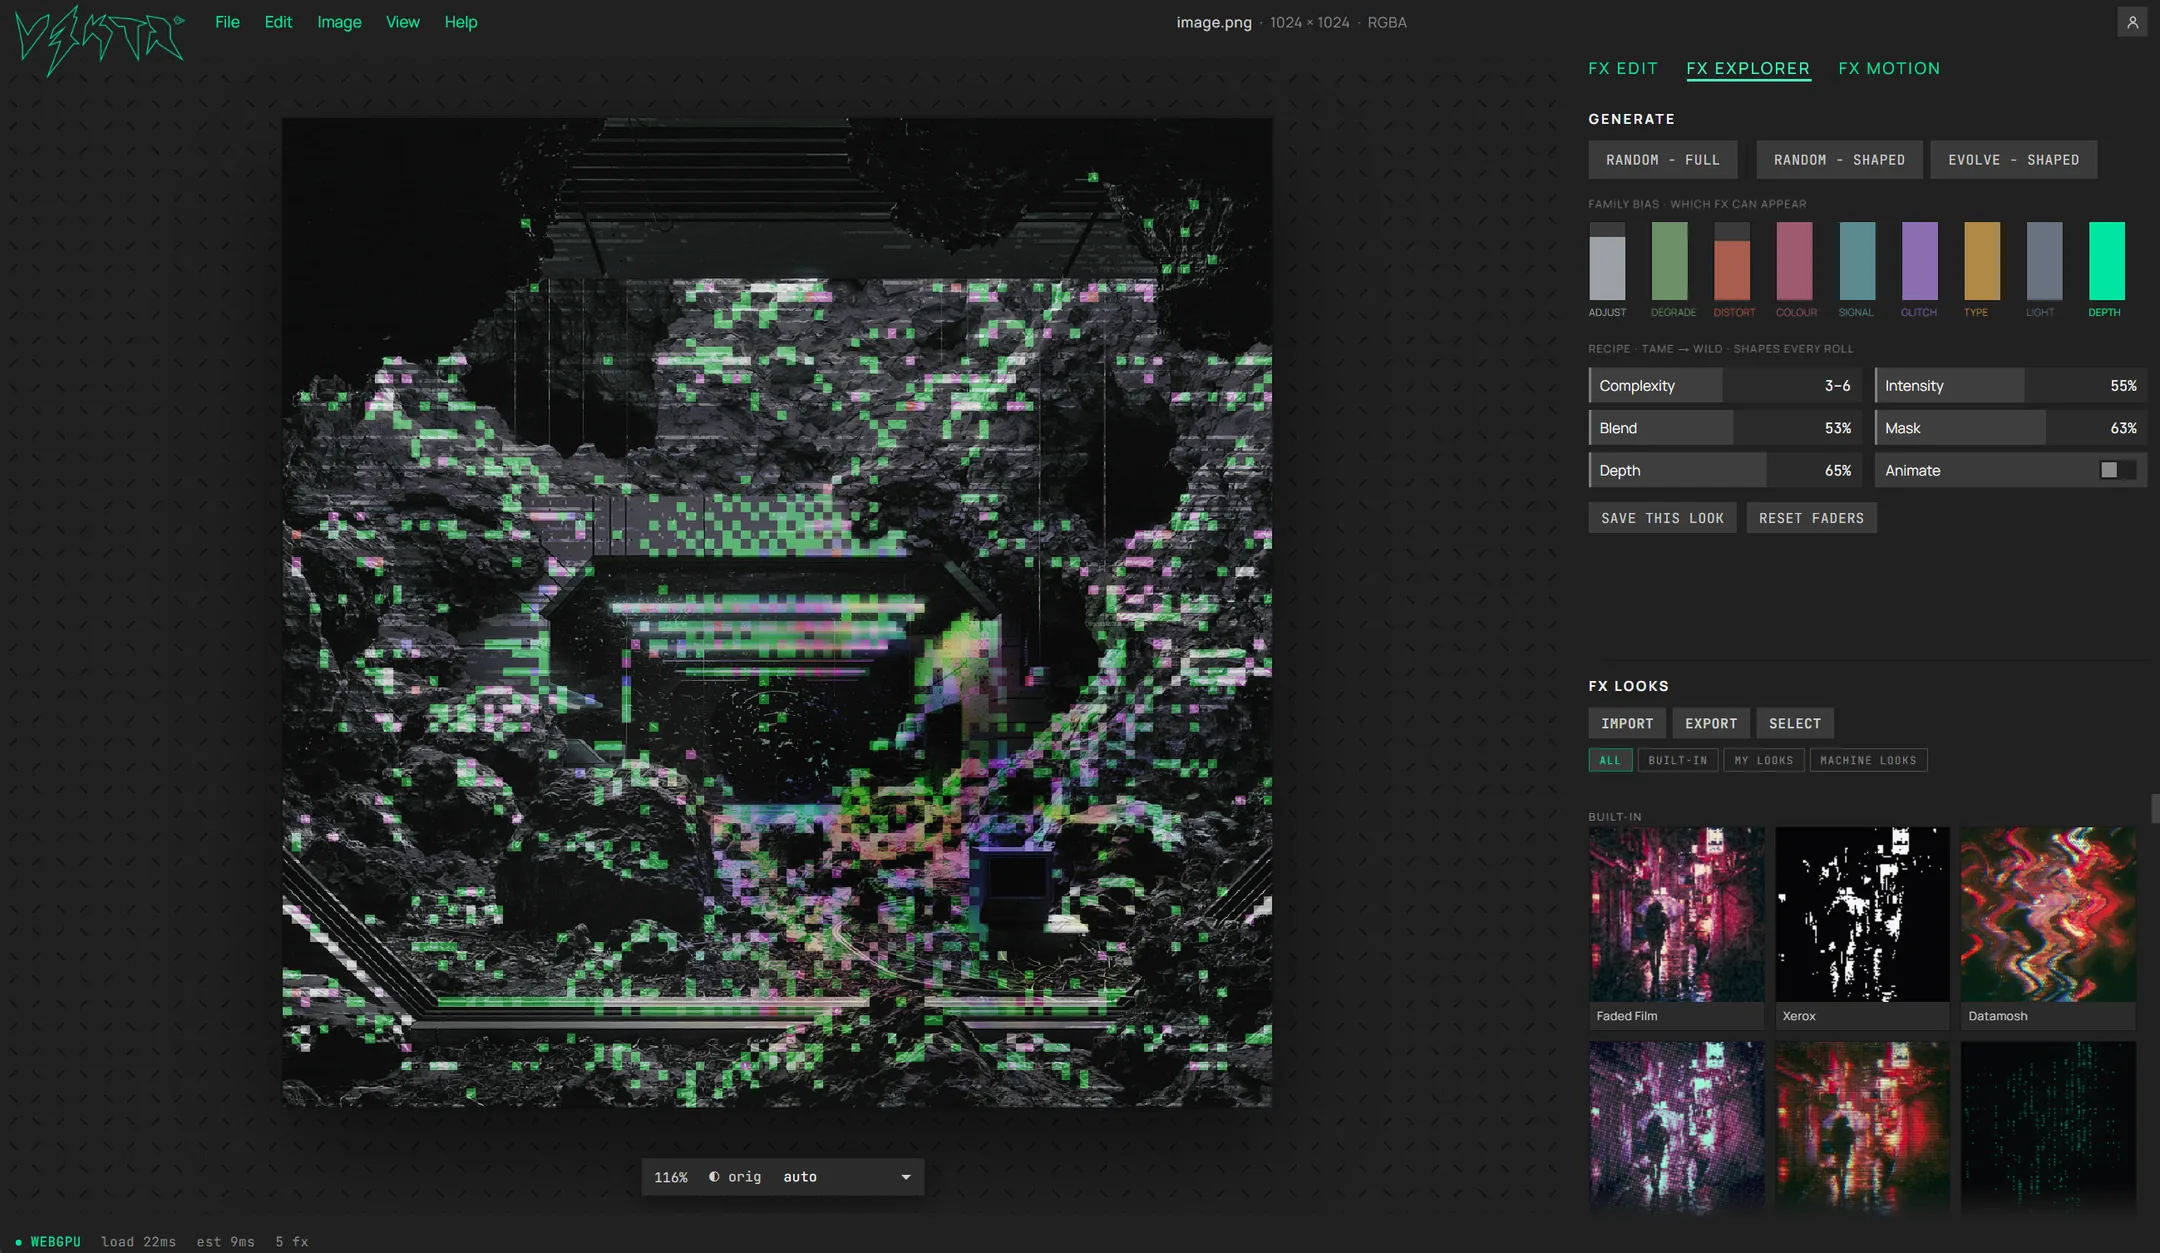 When you don't know what you want
FX Explorer. Full Random builds a whole stack from nothing; Evolve keeps what's on screen and moves it one way — colour, parameters, modes, order, blends or masks; Bias lets you say which families can appear, then roll or drift toward them; and the FX Looks gallery is where anything worth keeping ends up.
Technical
Built on WebGPU.
Processor measures what your GPU can handle and adjusts the preview to keep it smooth. Export quality scales with your hardware.
- Browsers
- Desktop Chrome or Edge, with WebGPU
- Tablets / phones
- Not supported
- Depth
- Monocular depth model, in-browser
- Masks
- Up to 4 per layer · radial, linear, gradient, luma, depth, pattern, paint
- Export
- PNG · MP4 · WebM · up to 4K
- Your files
- Never uploaded
Real algorithms, not filters
No presets cosplaying as effects. The JPEG glitch runs a real 8×8 DCT — forward transform, quantise against actual JPEG tables, inverse — so the artefacts are real because the compression is. A CRT modelled to the shadow mask, down to the Trinitron’s damper wires. Gray–Scott reaction–diffusion growing Turing patterns out of your image. True per-span pixel sorting, datamosh on feedback buffers, film grain on real stocks.
And a handful that only work because they read depth. Point Cloud rebuilds your image as a real 3D point cloud — every pixel lifted into space with true depth-buffer occlusion, sortable, scatterable, lit from above. Pixel-sort along the scene’s depth instead of flat rows. Depth DOF focuses exactly where the depth is, not behind a flat radial fake.
Masking and layers
Every effect takes its own masks — up to four on a layer, combined with add, subtract or intersect, drawn from five sources: radial, linear, gradient, luma and depth. A spanning Mask FX layer shapes a whole stack in one move, and masks animate: Reveal, Iris, Wipe, Depth Sweep, Travel.
Reorder and blend layers freely. Lock a layer you like and keep rolling the rest. Undo anything. Save a look and it carries its motion with it. Exports come out at full resolution, with no watermark.
Performance and requirements
Processor runs on WebGPU — the browser’s modern graphics API. That means the latest desktop Chrome or Edge, on a machine with a working GPU driver. If WebGPU can’t start, you’re told so up front rather than watching something look quietly broken. Whether your browser can run it is measured live on the compatibility page.
It measures your machine instead of assuming the worst. The preview resolution is on a live control loop: it steps down when a render runs past its GPU time budget and climbs back once there’s comfortable headroom. You can also pin it — full, 50%, 25% — if you’d rather decide yourself.
Exports aren’t quietly softened. The export resolution scales with the GPU you actually have, measured, rather than a flat floor set for the weakest card imaginable. A file that says 4K has 4K in it.
The work goes where it belongs. Most effects are shaders on the GPU. A strictly serial one — error-diffusion dithering scans pixel by pixel — runs on the CPU in a worker instead, where it’s faster and can’t freeze the tab. Depth is inferred once per image, or once per clip as a track across its frames, and cached, so changing the stack never re-runs it. The depth model is about 50 MB, fetched on first use and then cached by your browser.
It’s a desktop app: it needs a desktop browser with WebGPU, a real screen and a pointer. Phones and tablets aren’t supported.